We all know that push notifications are so useful both for the sending and receiving parties. Still, some websites don’t know how to use it efficiently and they disturb their subscribers a lot. Disabling Chrome push notifications is so easy! Keep reading and if you are wondering you can also check how to disable push notifications on Mozilla Firefox and how to disable push notifications on Safari.
FIRST METHOD
STEP 1
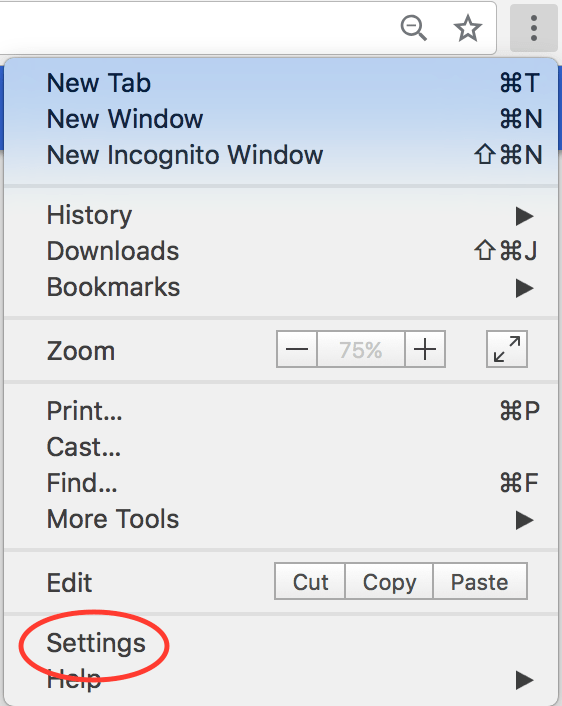
Open Google Chrome and click on the three vertical dots icon on the right side of the address bar. Choose Settings.
STEP 2
Scroll down and click on the Advanced button to go to Advanced Settings.

STEP 3
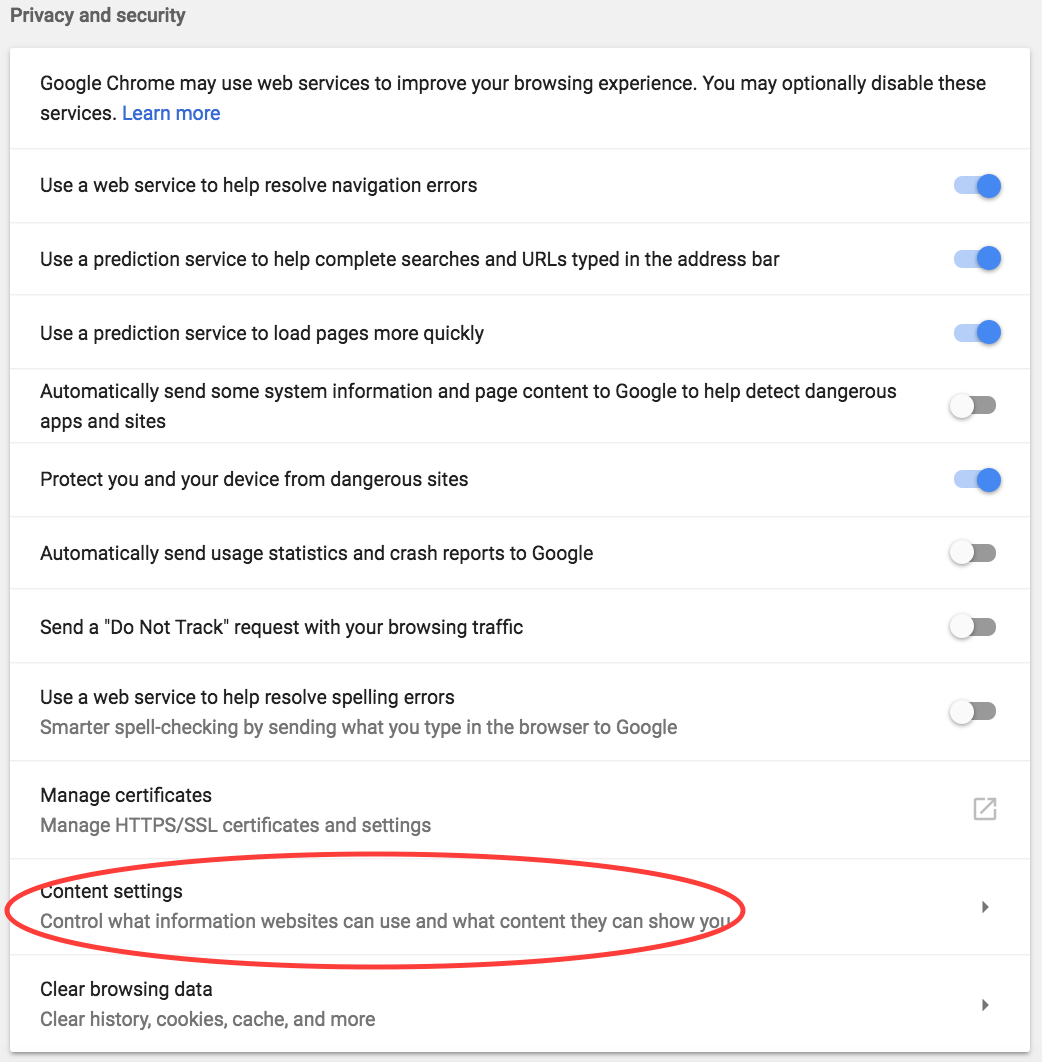
Go to Privacy and Security part and click Content Settings.
STEP 4
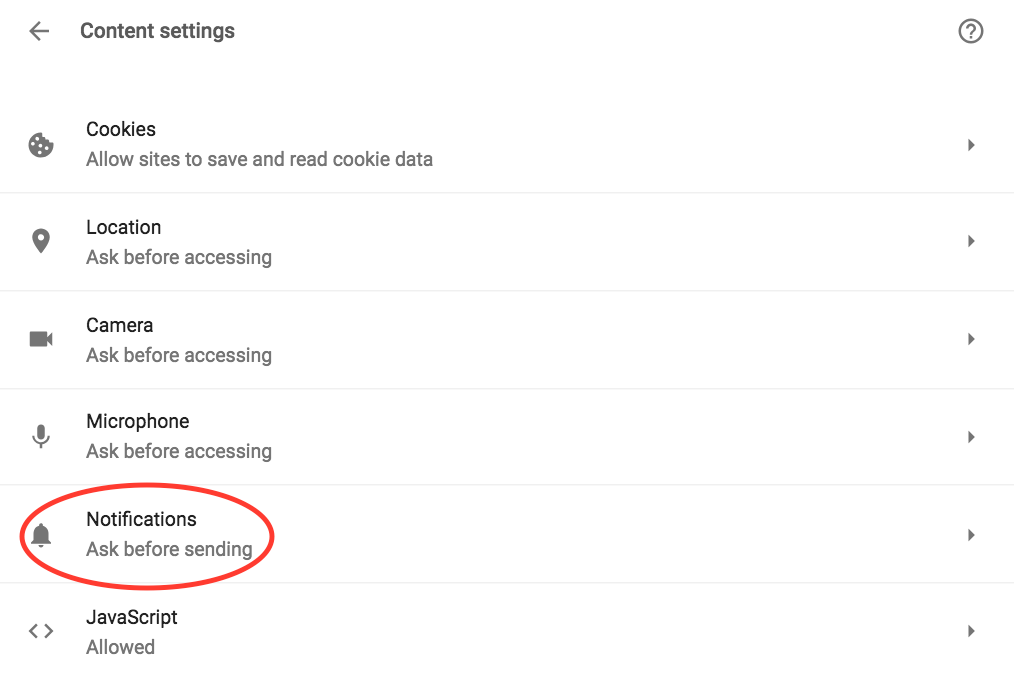
In Content Settings, choose Notifications.
STEP 5
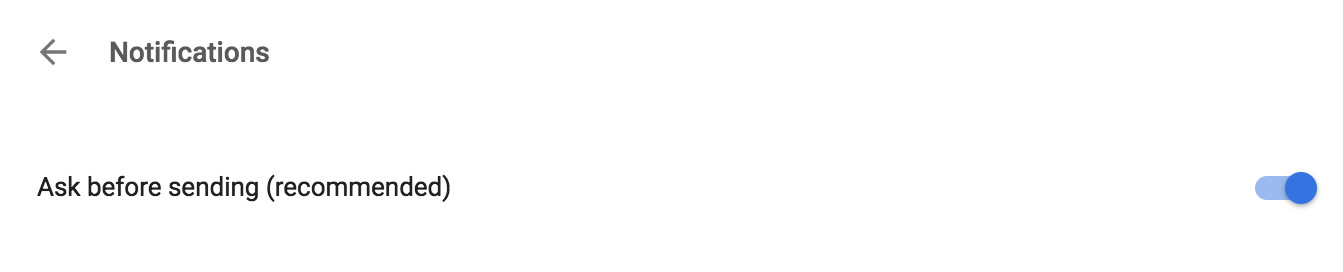
At the top of this screen, you will see a toggle button, which allows you to govern if you would like to be asked by websites for notification permission or not. This toggle button gives you two options: Block OR Ask before sending (recommended).
The effect of this toggle button is for all the websites that haven’t asked for permission yet.
If the toggle button is ON, as it is by default, you allow all websites to ask your permission for notifications.
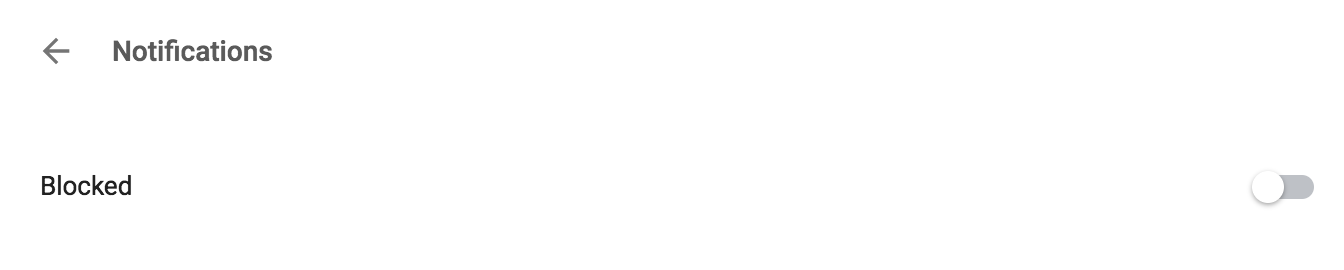
If you change the toggle button to OFF and block it, no website can ask your permission for notifications.
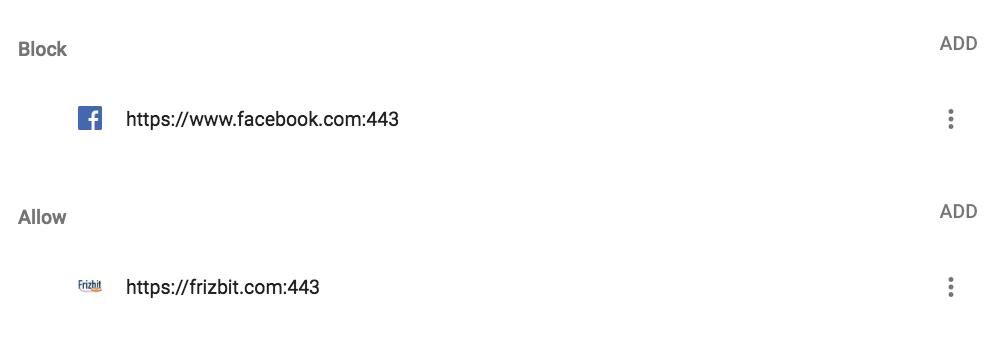
Also, you can add or remove websites to both Block and Allow sections. The websites under the Allow section are the ones you gave permission. You can always change it by clicking on the three vertical dots icon on the right. When you click there, you will see three options: Block, Edit and Remove.
- If you click Block, the website will be removed from the allow section and be in the block section. They won’t be able to send you notification or ask your permission.
- If you click Edit, you can edit the website’s URL.
- If you click Remove, the website will be removed from allow section and will have to ask again for permission to opt-in.
If you click on the three vertical dots next to the Block section, you will see Allow, Edit and Remove.
- If you choose Allow, the website will be removed from the block section and will be allowed to send you notifications in the future.
- If you click Edit, you can edit the website’s URL.
- If you click Remove, you will remove the website from the block section and let them ask your permission to opt-in in the future.
When you want to add a website to block section, if you write the URL as ”domain.com” it will not work. You should go to that website and copy the full URL, paste it to block section, delete the ”/” from the end and add ”:443”. (Ex: https://www.facebook.com:443)
SECOND METHOD
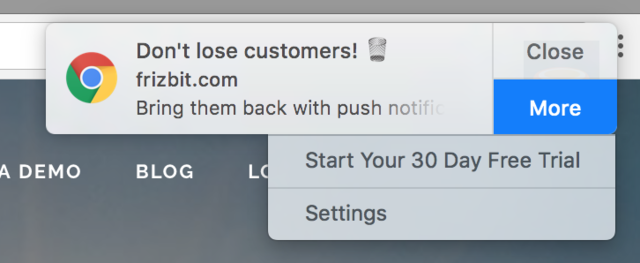
An easier option is, clicking More and then Settings when you receive a notification. This will take you directly to Step 5. You will see the website in Allow section. You can always change it by clicking on the three vertical dots icon and choosing Block.
THIRD METHOD
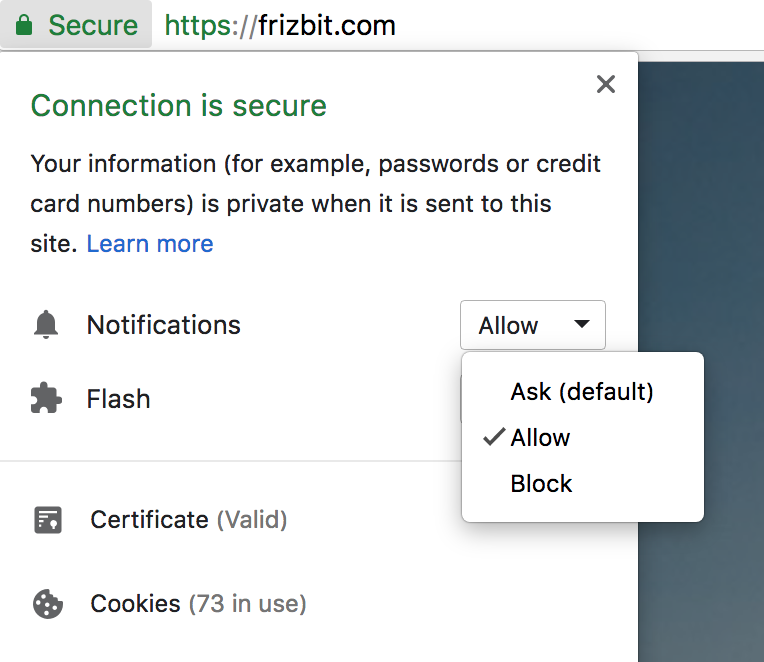
You can also click on the button left side of the adress bar to disable notifications. After clicking, you will see Notifications section. Right side of it, there are three options: Allow, Ask, Block.
- If you click Allow, the website can send you push notifications.
- If you click Ask, the website will ask your permission to send notifications.
- If you block, they won’t be able to ask permission or send notification.